


A strong roof keeps your home safe in every season. A well-planned hip roof design improves stability, water flow, and long-term durability. Many homeowners choose this design because it performs well in wind and rain. If you plan a new build or a roof upgrade, understanding this structure helps you make better decisions.
Quick Guide
- Choose a hip roof for better wind resistance
- Plan proper slope for water drainage
- Select strong materials like asphalt or metal
- Add good ventilation to prevent heat buildup
- Use skilled labor for accurate angles
- Inspect structure regularly after installation
What is Hip Roof Design
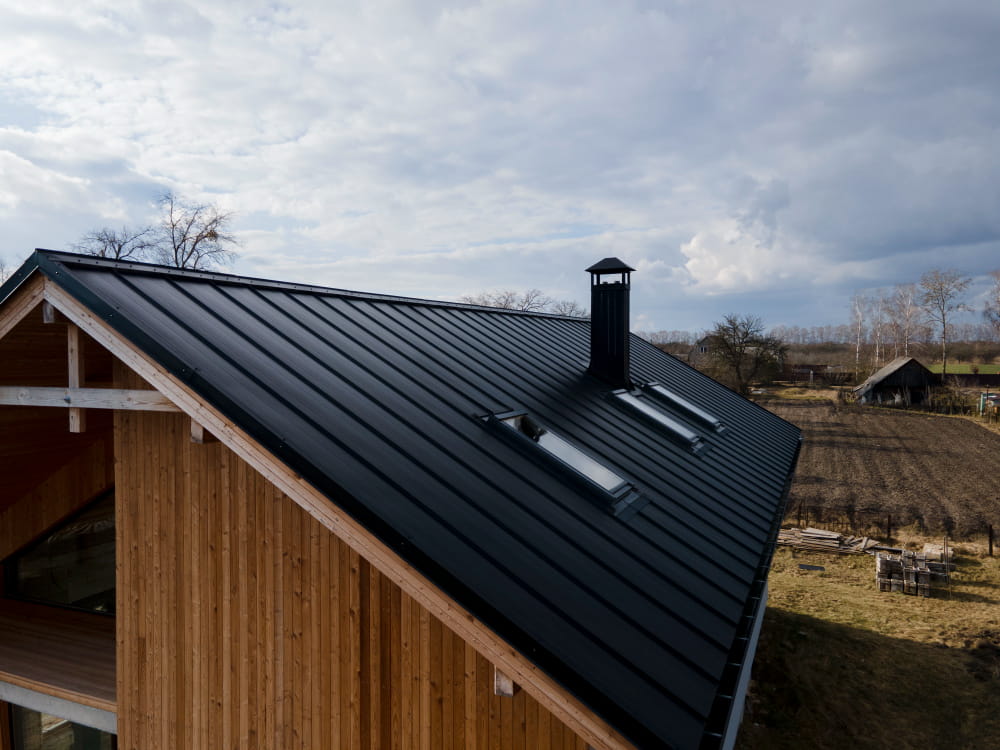
A hip roof design has slopes on all sides of the house. Each side goes down toward the walls. There are no vertical ends like a gable roof.
This design creates a balanced shape. It spreads weight evenly across all walls. That makes the structure more stable. It also allows rainwater to flow off from all sides, which reduces leakage risk.
For example, many modern bungalows use hip roofs because they look clean and handle weather well.
Types of Hip Roof Design
Here is a clear explanation of each type so you can understand which one fits your home best.
Simple Hip Roof
This is the most common type of hip roof design. It has four equal sloping sides that meet at a ridge in the center.
This design works well for standard homes with a simple layout. It offers strong support and handles wind and rain effectively. Many small to medium houses use this design because it is easy to build compared to more complex options.
For example, a single-story home with a rectangular shape often uses a simple hip roof for balanced coverage.
Pyramid Hip Roof
A pyramid hip roof has all sides sloping upward to meet at one single point at the top. There is no flat ridge in the center.
This design is usually used for square-shaped buildings. It gives a compact and symmetrical look. It also performs well in windy areas because of its balanced shape.
For example, small houses, gazebos, or outdoor structures often use this design for both strength and appearance.
Cross Hip Roof
A cross hip roof combines two hip roof sections that intersect with each other. This design suits larger homes with complex layouts.
It allows different sections of a house to have their own roof structure while still maintaining a unified look. It also improves drainage across multiple roof sections.
For example, a house with multiple wings or extensions often uses a cross hip roof to cover each part properly.
Half Hip Roof
A half hip roof combines features of both hip and gable roofs. The top part slopes like a hip roof, while the lower part includes a short vertical section.
This design adds a unique look while still offering some of the strength of a hip roof. It also allows for slightly more attic or interior space compared to a full hip roof.
For example, homeowners who want a mix of style and function often choose this option.
Simple takeaway:
Each type of hip roof design serves a different purpose. Your choice depends on your home size, layout, and design preference.
Hip Roof Vs Gable Roof
Understanding the difference helps you choose the right design.
Hip Roof:
- Slopes on all sides
- Strong in windy conditions
- Better water drainage
- Slightly higher construction cost
Gable Roof:
- Two sloping sides with vertical ends
- Easier to build
- Lower cost
- Less stable in strong winds
For example, if your area faces storms, a hip roof offers better protection.
Step 1: Plan the Structure
Start by deciding the size and layout of your roof. The slope angle is important. A steeper slope drains water faster, while a lower slope gives a modern look.
You also need to consider your local weather. If your area gets heavy rain or wind, choose a stronger slope and solid support structure.
Work with a designer or contractor to finalize the layout before construction begins.
Step 2: Choose the Right Materials
Material selection affects both cost and durability.
Common options include:
- Asphalt shingles for budget-friendly projects
- Metal roofing for long-term durability
- Clay tiles for a premium look
For example, metal roofs work well in areas with heavy rain because they resist water damage.
Always match the material with your budget and climate needs.
Step 3: Focus on Support and Framing
Hip roofs need strong framing because of their design. The internal structure includes rafters and a central ridge. Make sure the contractor uses quality wood or steel for support. Weak framing can lead to sagging over time.
A well-built frame keeps the roof stable for years.
Step 4: Add Proper Ventilation
Ventilation helps control heat and moisture inside the roof. Install ridge vents or soffit vents to allow airflow. This prevents heat buildup during summer and reduces moisture damage.
For example, a poorly ventilated roof can increase indoor temperature and raise cooling costs.
Step 5: Ensure Good Drainage
Water management is a key benefit of hip roof design. Install gutters on all sides to collect and direct water away from the house. Check that slopes guide water smoothly toward drainage points.
This step reduces the chances of leaks and wall damage.
Tips for Better Results
- Always hire experienced contractors
- Check local building codes before starting
- Inspect materials before installation
- Plan for regular maintenance
- Do not rush the construction process
These small steps improve overall quality and lifespan.
Final Thoughts
A hip roof design improves both strength and appearance of your home. It handles weather well and offers long-term value. With proper planning, material selection, and skilled work, you can build a roof that lasts for years. Focus on practical steps and make informed choices to get the best results.


