Want a new heating and cooling system for your home, but are the installation costs too high? What you need is a DIY-split unit. This makes them perfect for the DIY homeowner who wants efficient climate control with the peace of mind that comes from doing it yourself.
Pre-charged lines, clear instructions, and a minimal amount of tools to complete the installation make DIY mini splits more accessible than ever before. Are you prepared to own your comfort indoors? Here is how to install a DIY split unit; no professional needed.
Understanding the Components
Before you begin, take time to learn about the key parts of a split AC, such as the indoor unit, outdoor unit, pipes, and wiring. These include the indoor unit, outdoor condenser, refrigerant piping, and electrical wiring. Good cooling depends on every single piece doing its job. You can explore a DIY split unit installation guide for a more hands-on approach to understand the process and components better.
Choosing the Optimal Location
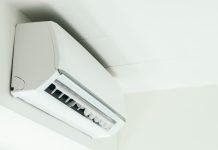
Selecting the correct location for both indoor and outdoor units is critical. The indoor unit should be placed high on a wall for optimal air circulation. Ensure there’s enough space around the unit for maintenance and efficient airflow.
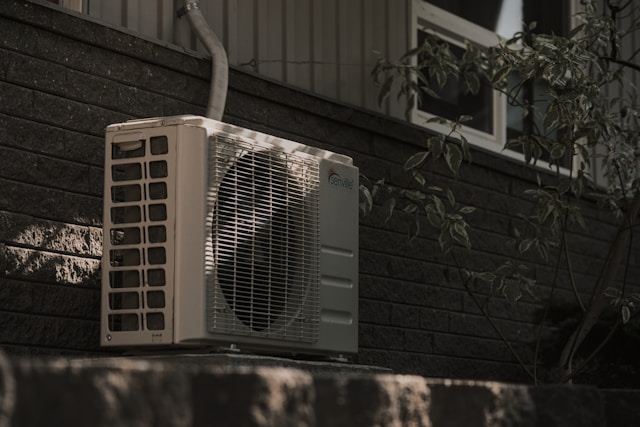
The outdoor condenser should be well-ventilated, away from direct sunlight and heavy vegetation. Placing the machine correctly helps it work better and stay good for a long time.
Gathering Necessary Tools and Materials
Getting everything ready beforehand truly makes an installation go smoothly. Get all the tools ready in advance. Common ones include a drill, screwdriver, level, and a pipe cutter.
Additionally, ensure that the required mounting brackets, bolts, and refrigerant piping are on hand. Having everything ready reduces interruptions during the installation process.
Mounting the Indoor Unit
Begin by installing the indoor unit’s mounting bracket. Use a level to ensure the bracket is perfectly horizontal.
Fix the bracket tightly to the wall with proper screws. After that, mount the indoor unit carefully until it locks into position.
Installing the Outdoor Unit
Place the outdoor unit on a solid, even surface so it stays steady. Use a concrete pad or similar base to minimize vibrations. Check that the unit sits straight and fasten it tightly with bolts. Proper installation of the outdoor unit prevents noise and potential damage over time.
Connecting the Refrigerant Lines
Now, connect the refrigerant pipes that link the indoor unit to the outdoor unit. Carefully uncoil the piping and avoid bending it sharply, which can cause leaks. Connect the lines to the appropriate valves on both units, ensuring a tight seal. Properly sealed connections prevent leaks and help the system run at its best.
Electrical Connections
Safety is paramount when handling electrical components. Before starting, ensure the power supply to the area is turned off. Connect the electrical wiring according to the unit’s manual.
Usually, you’ll need to wire both the indoor and outdoor units directly to the circuit breaker. Go over every single plug and cable. Make sure nothing feels loose so it all runs perfectly and stays safe.
Sealing and Insulating
Proper sealing and insulation of the refrigerant lines are crucial to prevent energy loss. Use foam insulation around the piping to protect it from temperature variations. Wrap the insulation tightly and use tape so it doesn’t come loose.
Closing off those small openings stops air from getting where it shouldn’t, helping your systems perform at their peak.
Testing the System
Once all components are installed, it’s time to test the system. Restore power and turn the unit on, checking for unusual noises or leaks. Ensure that both indoor and outdoor units are operating effectively. Monitoring the system quickly can help identify and rectify any issues early.
Regular Maintenance Tips
Regular maintenance is necessary to keep the system running efficiently. Wash the air filters once a month to keep the airflow smooth and steady. Inspect refrigerant lines and electrical connections periodically for signs of wear. Regularly check the outdoor unit for debris and ensure it remains level.
Conclusion
Many homeowners discover a real accomplishment from installing a split AC unit. Just follow these steps, and you’ll get it installed right without needing a pro. When you set it up, connect it well, and maintain it, your system will bring you comfort for years. With the right tools and patience, a cooler home is within reach.


