


")


")

Gardening is an evolving art form that requires space and organization. Many hobbyists find their kitchen counters overflowing with seed trays every spring. A shipping container offers a sturdy and weather-resistant solution for this exact problem.
These steel boxes provide a blank canvas for any gardener. They are modular and easy to place on most residential properties. Converting one into a specialized garden shed can revolutionize how you grow your food.
Using a container ensures your delicate seedlings are safe from heavy winds. It also keeps curious local wildlife away from your precious young sprouts. This guide will show you how to master this unique transformation.
Selecting the Right Container Size
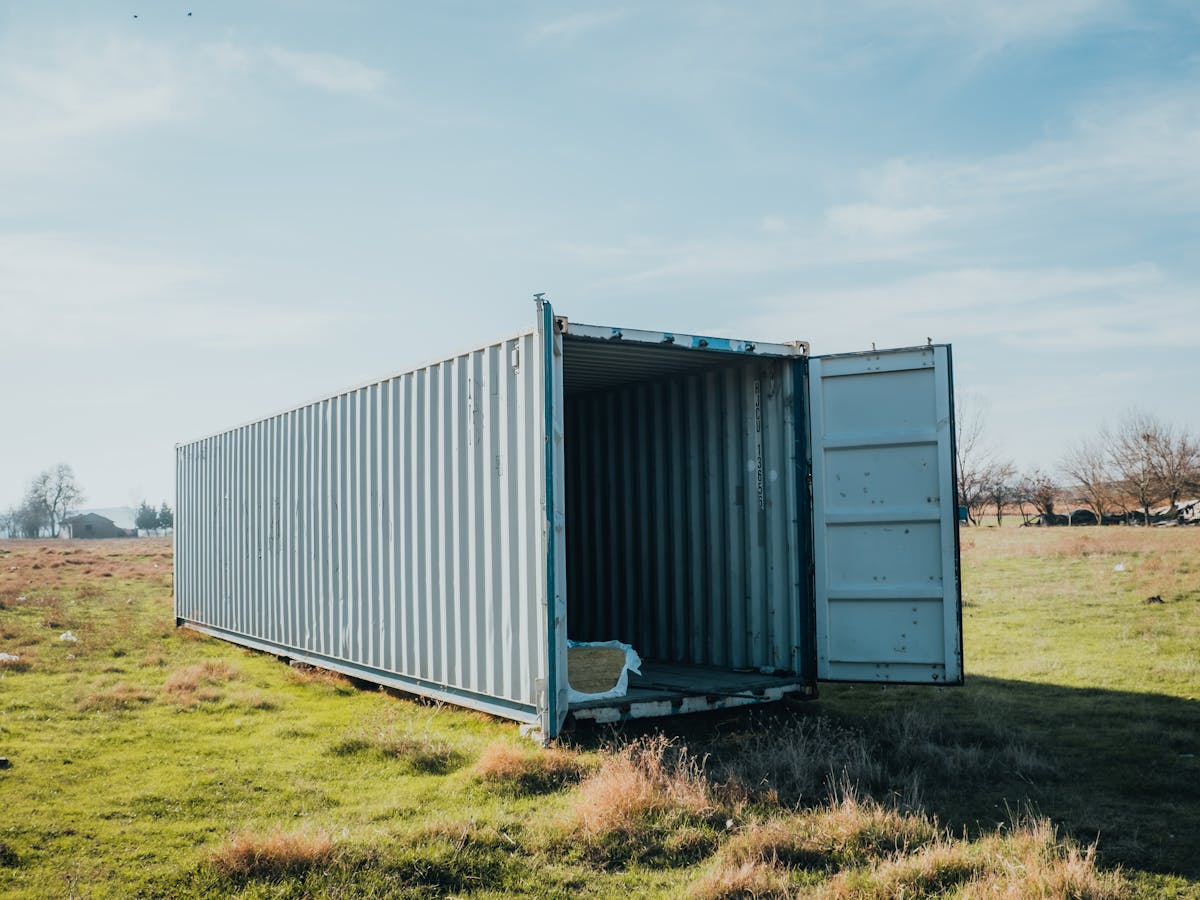
Most people start by looking at 10-foot or 20-foot options. A 10-foot container is perfect if you have a smaller suburban backyard. It provides enough room for several rows of shelving and a central workbench.
If you plan on growing thousands of starts, the 20-foot model is superior. This larger size allows for distinct zones within the structure. You can have one area for potting and another for germinating seeds.
Before you commit, you should look for a reliable supplier. You can buy shipping containers that are either new or gently used for this project. Choosing a “one-trip” container ensures the metal is in pristine condition for modifications.
Preparing the Foundation and Site
You cannot simply drop a heavy steel box on raw grass. The ground will eventually shift or sink under the weight. A level gravel pad or concrete blocks will provide the necessary stability.
Proper drainage around the base is essential to prevent rust over time. Airflow underneath the container helps keep the floor dry and cool. This setup protects your investment and keeps the interior environment stable.
Make sure the site receives adequate sunlight if you plan on adding windows. While artificial lights are great, natural heat from the sun helps with early growth. Positioning is the most important step before the delivery truck arrives.
Insulation for Climate Control
Steel is a great conductor of heat and cold. Without insulation, your container will become an oven in summer and a freezer in winter. Spray foam or rigid foam boards are the best choices for walls.
A well-insulated shed keeps the temperature consistent for sensitive plant starts. This consistency prevents the shock that often kills young seedlings during spring cold snaps. You want to create a cozy cocoon for your future garden.
Do not forget to insulate the ceiling as well as the walls. Most of your heat loss or gain happens through the roof of the unit. Proper lining also helps dampen the sound of heavy rain on the metal.
Ventilation and Humidity Management
Plants breathe just like we do and they release moisture into the air. Without proper ventilation, the inside of your shed will become damp and moldy. Installing a simple louvered vent at both ends creates a cross-breeze.
An exhaust fan with a thermostat is a smart addition for summer months. It automatically pulls hot air out when the temperature hits a certain limit. This prevents your delicate plant starters from wilting in the afternoon heat.
High humidity is good for germination but bad for the metal structure. Using a small dehumidifier can help you find the perfect balance for your plants. Keeping the air moving is the secret to healthy, fungus-free seedlings.
Maximizing Vertical Space with Shelving
The beauty of a shipping container is its height. You can install floor-to-ceiling shelving to hold hundreds of seed trays. Heavy-duty wire racking is ideal because it allows light and air to pass through.
Adjustable shelves give you the flexibility to move things as plants grow taller. You can start them close together and spread them out later. This makes the most of every square inch of your new garden shed.
Securing the shelves to the walls is a vital safety step. Since you cannot easily nail into steel, you might use magnets or specialized brackets. Organization is the key to managing a high volume of plant starters.
Lighting Systems for Early Growth
Natural light from windows is rarely enough for a commercial-scale start operation. LED grow lights are the most efficient way to provide the full spectrum of light. These lights stay cool and do not use much electricity.
Hang your lights on adjustable chains above each shelf. As the seedlings grow, you can raise the lights to prevent leaf burn. This ensures your plants grow thick stems instead of becoming leggy and weak.
A simple timer can automate your entire lighting schedule. Setting it for 14 to 16 hours of light mimics the peak of summer growth. This trick gives your garden a massive head start before the ground even thaws.
Watering Solutions and Plumbing
Carrying heavy watering cans from your house gets old very quickly. If possible, run a simple water line to your container shed. A small utility sink makes cleaning pots and trays much easier.
For a more advanced setup, consider a drip irrigation system for your shelves. This delivers a precise amount of water directly to each tray. It saves time and ensures no plant is ever left thirsty.
Always include a floor drain or use waterproof floor coatings. Spills are inevitable when you are working with soil and water. A quick mop-up should be all it takes to keep your workspace clean.
The Benefits of a Dedicated Workspace
Having a separate space for messy garden tasks keeps your home clean. You can store bags of soil and fertilizers right where you use them. This eliminates the need to haul heavy supplies back and forth.
A dedicated shed also allows you to focus on your gardening hobby without distractions. It becomes a peaceful sanctuary where you can work with your hands. Many gardeners find this quiet time to be very therapeutic.
Electrical Safety and Wiring
You will need power for your lights, fans, and perhaps a small heater. Hiring a professional electrician is the safest way to wire a metal container. They will ensure the entire structure is properly grounded.
Use waterproof outlet covers to protect against moisture from misting. It is also wise to use a dedicated circuit for the shed to avoid tripping breakers. Safety should always come before aesthetics in a DIY project.
Consider adding an external light above the door for late-night garden checks. Spring often requires checking on your starts after the sun goes down. Good visibility makes the work much safer and more enjoyable.
Final Touches and Aesthetics
A shipping container does not have to look like a rusty box in your yard. A fresh coat of exterior paint can make it blend into your landscaping. Earthy tones like forest green or slate grey work very well.
Adding a small porch or some decorative trim can soften the industrial look. You might even plant climbing vines like clematis or ivy against the walls. This turns a functional tool into a beautiful backyard feature.
Your new garden shed will last for decades if you maintain it well. Regular inspections for rust spots will keep the steel in top shape. With a little effort, your plant starter station will be the envy of the neighborhood.
Summary of the Transformation
Starting your garden in a shipping container is a smart and sustainable choice. It provides a controlled environment that leads to stronger and healthier plants. You save money by growing from seed rather than buying expensive nursery starts.
The process of building the shed is a rewarding project in its own right. You learn about insulation, lighting, and climate control along the way. Each step brings you closer to a more productive and organized garden.


")
